5 BASIC RULES: RECORDING AT HOME
FRAMING – CAMERA / LAPTOP PLACEMENT
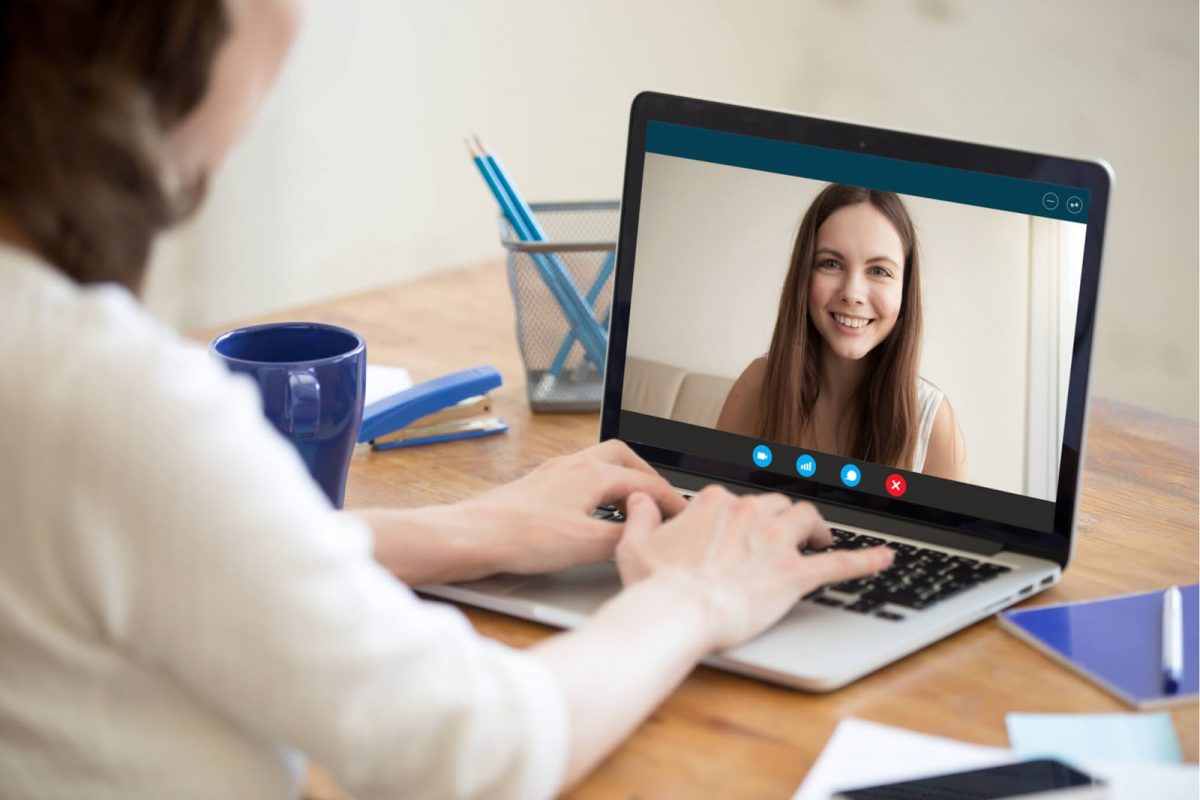
- Always place the camera (or phone) in the same eye plane or slightly higher. We should never look at the other party, on the other end of the video call, down or “from above”. To achieve this effect, we need to line the laptop or camera so that the “eye of the camera” is at the same eye level. By keeping the camera in the eye plane, we avoid the ceiling and also the floor in the frame.
But it has another advantage: we all look more attractive, especially if we avoid the double chin.
- There should always be the same amount of space to the left and right of our body. What we can do is position ourselves slightly to the left in the frame and look to the camera slightly to the right (in the direction where there is more space / void in the frame), or position ourselves slightly to the right and look left (where more space is created). It is easiest if we are placed in the middle. There should always be a little space above our head – that the head is not cut off or that there is not too much emptiness above the head. The feeling of symmetry automatically beautifies the whole frame, including us.
- When we stand in front of the camera, we must be careful that our body is not “cut off” on the folded parts of the body. For example, the image can be cut above the elbows (example 1) or below the shoulders (example 2). We can also cut between the elbows and palms – but never IN THE ELBOW, IN THE WRIST, IN THE KNEE or IN THE HIP, as these are the folds of the body.
Example 1
Example 2
SET
- The background where we record must be in accordance with the message we want to convey. If we are a chef or a housewife, we will not find a better place to shoot than the kitchen. If we are participating in a business shoot, it is better to use more neutral backgrounds, such as a monochrome wall with a picture, but our office can also be in the background. Of course, we can also record from the home living room, but we must be careful to clean the room and remove from it all objects that are not suitable for our topic of conversation (example 1).
- There must be no windows or direct sunlight in the background, as such light spoils the image quality. A window is only acceptable if the space is otherwise sufficiently darkened and the window is in the frame merely for the sake of feeling. We also need to be careful with houseplants and objects that could “peek” behind our head – we always make sure that taller objects are away from our body (left or right in the frame, example 2).
Example 1
Example 2
LIGHT
- As already mentioned – we avoid direct sunlight that would come from our background or shine in our face. Direct light, so to speak, “burns” the image. If you cannot see objects in the room because of the light, it is too strong. It is recommended to set the camera in front of a window, through which there are no direct rays, but only gentle daylight – in this way the light illuminates our face most beautifully.
- If you have warm lights (yellow glow) in the room, it is good to turn them off. Only cold lights are suitable for recording purposes. You can help yourself by gently turning a cool-toned table lamp (i.e. one that doesn’t glow yellow) toward your face so that the light comes from behind the camera and illuminates you and makes a natural filter. Such an approach, for example, can smooth women’s pores and add an “Instagram effect” to a clip.
SOUND
- Before each recording, make sure that all doors and windows are closed so that external sounds do not interfere with your recording. Also, remind family members that you will need silence for a while.
- Turn off all apps and audio notifications on your laptop, and it’s best to turn on Airplane mode on your phone.
TRANSFER AND STORAGE OF DOCUMENTS
- Before recording, make sure you have enough space in your phone, computer, or camera. 5GB will be enough for a one-hour conversation.
- You can transfer files via Google Drive or Filemail. Dropbox and WeTransfer are suitable for smaller files.


